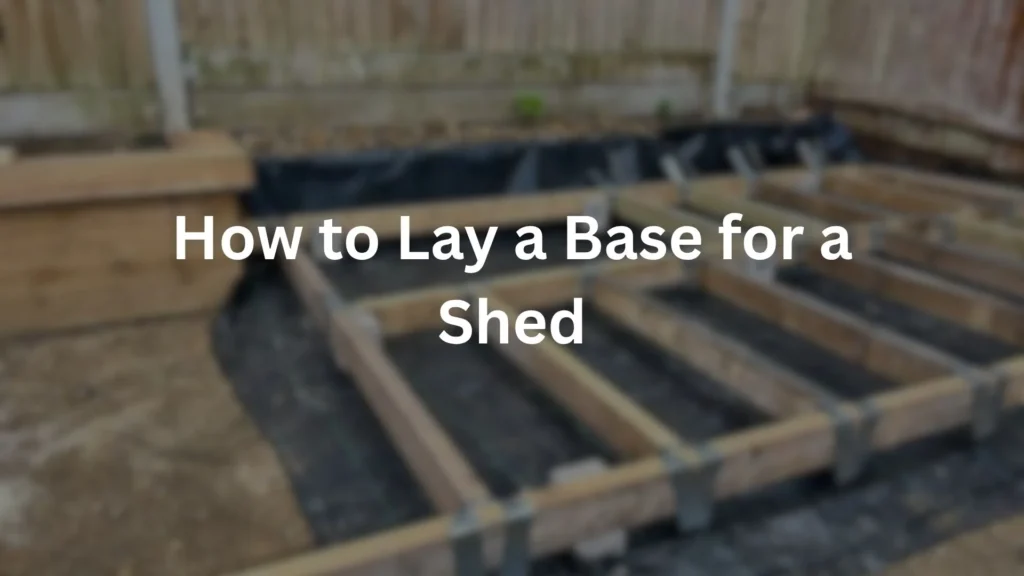
For smaller, lighter sheds, a paving slab base is a genuinely solid choice, offering a stable, level surface without the extra time and equipment a full concrete pour requires. Getting it right comes down to proper ground preparation, the correct sub base depth for your specific conditions, and taking care to lay each slab level with the next.
At JPD Landscaping & Building Services, we’ve laid paving slab shed bases across South East London for over 15 years. This guide walks through exactly how to lay one properly, step by step, including the standard slab size we typically use, the mistakes that cause the most problems, and a real example of a paving slab base done right.
How to Lay a Paving Slab Base for a Shed
To lay a paving slab shed base, excavate and level the area, add a compacted sand and hardcore sub base at a depth suited to your ground conditions and shed size, then lay your slabs, typically 600mm by 600mm, ensuring each one is level with the next and the whole base has a slight overhang beyond your shed’s exact footprint.
| Step | What to Do |
| 1. Mark and measure | Mark the base area with a slight overhang beyond shed dimensions |
| 2. Excavate and level | Dig out and level the ground before adding sub base |
| 3. Add sub-base | Compacted sand and hardcore, depth varies by ground condition |
| 4. Lay slabs | Standard 600mm x 600mm slabs, checking level throughout |
| 5. Fill joints | Fill gaps between slabs for a clean, finished surface |
Step-by-Step: How to Lay a Paving Slab Shed Base
Step 1: Mark Out and Measure the Area
Measure your shed’s exact footprint and mark out the base area with pegs and string lines, allowing a slight overhang around each edge, typically 50mm to 100mm, so the finished base fully supports the shed once it’s in place. Skipping this overhang is a mistake that leaves shed edges unsupported, which can lead to problems over time.
Step 2: Excavate and Level the Ground
Dig out the marked area to an appropriate depth, accounting for both your sub base layer and the slabs themselves. Take real care levelling the excavated area at this stage, since any unevenness here carries through to every layer built on top of it. On sloped or uneven gardens, this stage can involve considerably more groundwork than expected, which is worth reading up on in our guide to retaining wall installation if your intended shed spot has any meaningful level change to manage first.
Step 3: Lay a Compacted Sand and Hardcore Sub-Base
Add a sub base layer of compacted sand and hardcore across the excavated area. The exact depth genuinely varies depending on your ground conditions and the size of your shed, since firmer, well drained ground generally needs less sub base than softer or wetter soil, and larger, heavier sheds benefit from a more substantial sub base than small, lightweight ones. Compact this layer thoroughly before moving on, since a poorly compacted sub base is one of the most common causes of a shed base settling unevenly over time.
Step 4: Lay the Paving Slabs
Using standard 600mm by 600mm slabs, begin laying them across the compacted sub base, working methodically from one corner. Check each slab is level both individually and relative to the slabs around it as you go, using a spirit level and a rubber mallet to gently tap slabs into place where needed. Consistent checking throughout, rather than only at the end, is what prevents small levelling errors from adding up across the whole base.
Step 5: Fill the Joints Between Slabs
Once all slabs are laid and level, fill the joints between them with a suitable jointing compound or fine sand, brushing it into the gaps for a clean, finished surface. This step also helps stabilise the slabs in position and reduces the risk of movement over time.
Choosing the Right Sub-Base Depth for Your Conditions
There’s no single fixed depth that applies to every project here. In our experience, the correct sub base depth genuinely depends on two things: your existing ground conditions, and the size and weight of the shed going on top.
| Factor | Impact on Sub-Base Depth |
| Firm, well drained ground | Generally needs a shallower sub base |
| Soft or wetter ground | Typically needs a deeper, more substantial sub base |
| Small, lightweight shed | Standard sub base depth usually sufficient |
| Larger, heavier shed | Benefits from a deeper, more robust sub base |
If you’re unsure about your specific ground conditions, it’s worth getting a professional assessment before committing to a sub base depth, since getting this wrong is far more difficult to correct once the slabs are already laid on top.
How to Assess Your Own Ground Conditions Before Starting
If you’re planning to tackle this yourself, it’s worth doing a basic assessment of your ground before finalising your sub base plan. A simple way to get a feel for drainage is to dig a small test hole roughly 300mm deep in the intended area, fill it with water, and see how long it takes to drain away. Ground that clears within an hour or two is generally well drained, while water that lingers for several hours or longer suggests heavier, slower draining soil that will need a more generous sub base to perform reliably.
It’s also worth pressing a garden fork into the soil at a few points across the site. Ground that resists penetration and feels firm underfoot is typically more stable than soil that feels soft, springy, or gives way easily, which is a useful, low tech indicator of how much sub base support the area is likely to need.
Standard Slab Sizes and Alternatives
While 600mm by 600mm is the size we most commonly use for shed bases, it’s worth knowing a couple of alternatives exist depending on the project. Smaller 450mm by 450mm slabs are sometimes used for compact sheds or where a finer, more detailed finish is preferred, though they require more individual slabs and joints to cover the same area. Larger format slabs, sometimes up to 900mm across, are occasionally used for bigger sheds or workshop style structures, offering fewer joints across the base but requiring more careful handling during installation due to their weight and size.
For the vast majority of standard garden sheds, 600mm by 600mm remains the most practical choice, striking a good balance between coverage, ease of handling, and finished appearance.
Tools and Materials You’ll Need
Before starting, it’s worth gathering everything required so the project runs smoothly from start to finish. You’ll need paving slabs in your chosen size, sharp sand and hardcore for the sub base, a spirit level, rubber mallet, string lines and pegs for marking out, a wheelbarrow for moving materials, a compactor or hand tamper for the sub base layer, and jointing compound or fine sand for finishing the gaps between slabs. Basic safety equipment, including gloves and sturdy footwear, is also worth having on hand given the amount of lifting and ground work involved.
Paving Slabs vs Concrete: Which Is Right for Your Shed?
If you’re still deciding between a paving slab base and a full concrete pour, it’s worth weighing up the two approaches directly. Paving slabs generally suit smaller, lighter sheds well, offering a quicker, more accessible DIY option that doesn’t require mixing and curing concrete. A concrete slab base, by contrast, offers greater strength and stability for larger or heavier sheds, though it’s a more involved process requiring proper mixing, formwork, and curing time before the shed can be installed. Our guide on how to build a shed base covers the concrete approach in full detail if you’re weighing up both options for your specific project.
Maintaining a Paving Slab Shed Base Over Time
Once your base is laid, a small amount of ongoing attention helps keep it performing well for years to come. Periodically checking that jointing compound or sand between slabs hasn’t washed out over time, particularly after heavy rain, and topping it up where needed, helps keep the slabs locked firmly in place. It’s also worth occasionally checking for any signs of individual slabs shifting or settling unevenly, since catching this early is far easier to address than waiting until the shed itself starts to feel noticeably uneven underfoot.
Keeping the surrounding area reasonably clear of overhanging vegetation also helps reduce moisture buildup and slows the growth of moss or algae on the slab surface, which can otherwise make the area around the shed slightly slippery over time, particularly in shaded corners of the garden.
Common Mistakes When Laying a Paving Slab Shed Base
Based on the repair callouts we’ve handled, a few mistakes come up consistently, and they tend to compound each other’s effect on the finished base.
- Slabs not laid level with each other. Uneven gaps and height differences between adjacent slabs create an unstable, uneven surface for the shed to sit on, and can worsen over time as the base settles.
- Sub-base not compacted enough before laying slabs. A loosely compacted sub base allows slabs to shift and settle unevenly under the shed’s weight, undermining the whole base over time.
- Base too small, with no overhang beyond the shed’s edges. Without proper overhang, the shed’s edges sit unsupported beyond the paved area, which can lead to sagging or damage at the perimeter of the structure.
- Ignoring ground conditions when deciding sub-base depth. Applying the same standard sub base depth regardless of whether the ground is firm or soft is a common cause of uneven settling further down the line.
- Rushing the joint filling stage. Leaving gaps between slabs unfilled or poorly finished allows weeds, moss, and water to work into the joints, gradually undermining the stability of the base over time.
In our experience, these issues rarely appear in isolation. A DIY base that skips proper compaction often also lacks careful attention to slab levelling, since both stem from rushing the preparation stages to get to the visibly satisfying part of laying slabs.
Case Study: A Paving Slab Base Laid for a Small Garden Shed
One of our typical paving slab shed base projects involved a customer in South East London installing a small garden shed on relatively firm, well drained ground.
Project details:
| Detail | Specification |
| Shed size | 8ft x 6ft |
| Slab size used | 600mm x 600mm |
| Ground condition | Firm, well drained |
| Sub-base approach | Adjusted depth to suit firm ground and shed size |
| Overhang allowance | 75mm around all sides |
What we did: After confirming the ground was firm and well drained, we excavated and levelled the area, laid a compacted sand and hardcore sub base suited to those conditions and the shed’s relatively light weight, then laid the 600mm by 600mm slabs, checking level continuously throughout to keep each slab consistent with the ones around it.
Result: The finished base has remained level and stable, with no signs of settling or uneven gaps between slabs, giving the shed a solid, properly supported foundation. This case is a good example of why matching your sub base approach to your specific ground conditions, rather than following a fixed formula, produces the most reliable result.
Frequently Asked Questions
How do I lay a paving slab base for a shed?
Excavate and level the ground, add a compacted sand and hardcore sub base suited to your ground conditions, then lay paving slabs, checking each one is level with the next, before filling the joints between them.
What size paving slabs should I use for a shed base?
600mm by 600mm is a standard, commonly used slab size for shed bases, offering good coverage without being unwieldy to handle during installation.
How deep should the sub-base be under a paving slab shed base?
This varies depending on your ground conditions and shed size. Firmer, well drained ground generally needs a shallower sub base than softer or wetter soil, and larger sheds benefit from a more substantial sub base.
What happens if the sub-base isn’t compacted properly?
A poorly compacted sub base allows the slabs above it to shift and settle unevenly over time, which is one of the most common causes of a shed base failing prematurely.
Do I need an overhang around the shed on a paving slab base?
Yes, a slight overhang, typically 50mm to 100mm beyond the shed’s exact footprint, ensures the shed’s edges are properly supported rather than left hanging beyond the paved area.
How can I test my ground conditions before choosing a sub-base depth?
A simple drainage test, digging a small hole and timing how quickly water drains away, along with checking how firm the soil feels underfoot, gives a useful indication of whether you’re dealing with firm or soft, slow draining ground.
Should I choose paving slabs or concrete for my shed base?
Paving slabs suit smaller, lighter sheds well and are generally easier for a DIY approach, while concrete offers greater strength for larger or heavier structures, though it requires more involved preparation and curing time.
Get a Free Quote for Your Shed Base Project
Whether you need a paving slab or concrete shed base laid properly, JPD Landscaping & Building Services offers free quotes across South East London.