Keeping a patio clean is one of the simplest ways to protect its appearance and extend its lifespan, but it’s easy to cause more harm than good if the cleaning method isn’t right for the material or the jointing between slabs. Getting this right consistently makes the difference between a patio that stays looking good for years and one that develops problems from cleaning attempts that were a bit too aggressive.
At JPD Landscaping & Building Services, we’ve cleaned and maintained patios across South East London for over 15 years. This guide covers exactly how to clean patio slabs properly, how often to do it, and the mistake that causes more jointing damage than any other cleaning error we see.
Cleaning Patio Slabs Without Causing Damage
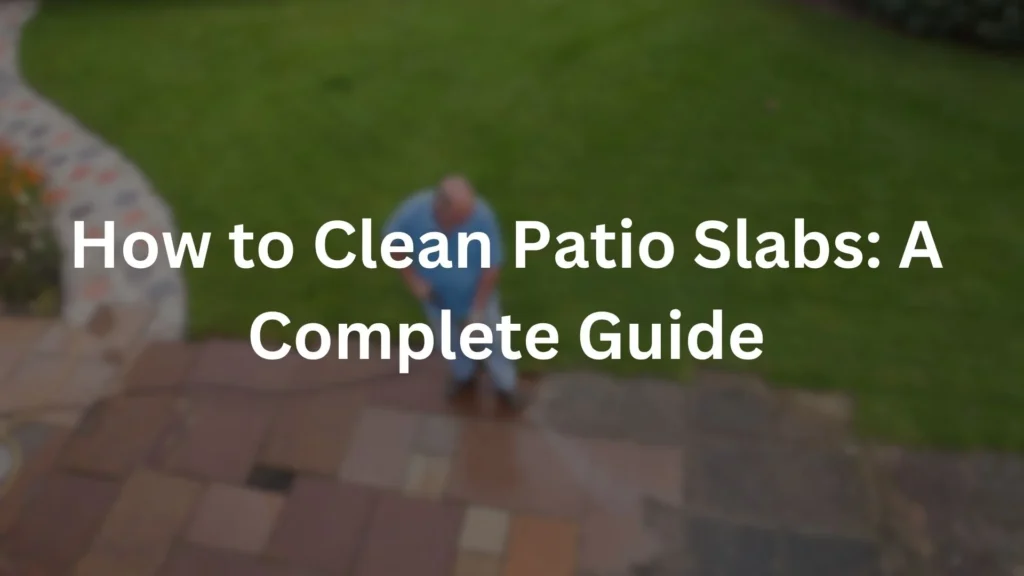
To clean patio slabs safely, clear away loose debris first, then wash the surface using warm water and a mild detergent, which is safe for most slab types. Pressure washing is generally safe on most patio slabs, provided you use the right pressure setting and keep a reasonable distance from the surface. We recommend cleaning your patio twice a year, in spring and autumn, to stay ahead of dirt, algae, and grime before it builds up significantly.
Steps for Cleaning Patio Slabs Safely
Step 1: Clear the Patio of Debris
Before applying any water or cleaning solution, sweep away leaves, dirt, and any loose debris sitting on the surface or trapped in the joints between slabs. This prevents you from simply pushing dirt around and stops organic material from staining the slabs once they become wet.
Step 2: Apply a Mild Cleaning Solution
For routine cleaning, warm water mixed with a mild detergent is genuinely sufficient for most patio slab types, whether that’s porcelain, concrete, or natural stone. There’s no need for harsh chemical cleaners for a standard seasonal clean, which are better reserved for tackling specific issues like stubborn algae or ground in staining.
Step 3: Scrub Stubborn Areas if Needed
For any particularly dirty or algae affected patches, a stiff outdoor brush combined with your cleaning solution should lift most residue without needing anything more aggressive. Work methodically across the patio rather than focusing all your effort on one small section.
Step 4: Rinse or Pressure Wash
Rinse the patio thoroughly with clean water, or use a pressure washer at an appropriate setting to remove any remaining dirt and cleaning solution. This is the step where care really matters, covered in detail below.
Step 5: Let the Patio Dry
Allow the patio to dry naturally before returning furniture or resuming heavy use. This also gives you a clear view of the finished result, letting you spot any areas that might need a second pass.
Adjusting Your Cleaning Approach by Material
While the general process above suits most patio materials well, it’s worth knowing a few material specific considerations. Porcelain’s non porous surface generally responds very well to a straightforward wash, rarely holding onto stains or algae as stubbornly as more porous materials, which is one of the practical advantages covered in our porcelain paving pros and cons guide. Natural stone, being somewhat more porous, can benefit from slightly more attention to algae prone, shaded areas specifically, and it’s worth checking whether your stone has been sealed, since some sealants recommend avoiding certain chemical cleaners that could affect the sealant layer itself.
Concrete paving sits between the two, generally cleaning up well with the standard approach, though older or more porous concrete products can occasionally show more persistent staining in high traffic areas, sometimes benefiting from a slightly more thorough scrub during the seasonal clean.
How Often Should You Clean Your Patio?
We recommend cleaning your patio twice a year, in spring and autumn. This timing works well because it addresses two distinct challenges through the year: a spring clean removes the grime and organic buildup that accumulates over the wetter, colder months, while an autumn clean clears fallen leaves and debris before they have a chance to sit against the slabs and jointing over winter, where they’re more likely to encourage algae growth in damp, cold conditions.
| Season | Why It Matters |
| Spring | Removes winter grime and checks for any developing issues |
| Autumn | Clears fallen leaves before they sit against slabs through winter |
Adjusting Cleaning Frequency for Shaded or High-Traffic Patios
While twice yearly suits most gardens well, it’s worth knowing some patios genuinely benefit from a slightly more frequent approach. Particularly shaded, damp corners of a garden, similar to the conditions covered in our guide on the best patio slabs for a London garden, can develop algae and grime more quickly than a patio in a sunnier, more open position, sometimes warranting an additional clean during the year specifically targeted at those problem areas rather than the whole patio. Similarly, high traffic areas, such as a well used dining or entertaining zone, may benefit from more frequent spot cleaning between the two seasonal deep cleans, simply due to the additional wear and dirt these specific spots accumulate compared with less used sections of the same patio.
Is It Safe to Pressure Wash Patio Slabs?
Pressure washing is generally safe on most patio slabs, provided you use the correct pressure setting and maintain a sensible distance from the surface. Used properly, a pressure washer can clean a patio far more thoroughly and efficiently than manual scrubbing alone, particularly for lifting ground in dirt or algae from textured slab surfaces.
The key word here is properly. Pressure washing done carelessly, at too high a setting or too close to the surface, causes genuine, avoidable damage, which brings us to the most common mistake we see.
Choosing the Right Nozzle and Pressure Setting
Getting genuinely good results from pressure washing without causing damage comes down largely to nozzle choice and pressure setting. A wider fan tip nozzle spreads the water jet’s force across a broader area, reducing the concentrated impact on any single point compared with a narrow, focused jet nozzle, which is considerably more likely to cause damage if held too close or at too high a setting. Starting with a lower pressure setting and a greater working distance from the surface, then gradually adjusting closer or increasing pressure only if genuinely needed for stubborn areas, is a safer general approach than starting at maximum pressure and working back from there.
It’s also worth testing your chosen setting on a small, inconspicuous area of the patio first, particularly if you’re unfamiliar with how your specific pressure washer and paving material interact, since this gives you a chance to spot any issues before committing to cleaning the full visible area.
The Most Common Mistake: Washing Out the Jointing
By far the most common issue we see from DIY patio cleaning is using too high a pressure setting, which washes out the jointing or sand between slabs. This isn’t just a cosmetic problem. Jointing material plays a genuine structural role, helping keep slabs stable and preventing water from getting beneath the patio surface in ways that could cause longer term settling or drainage issues, similar to the settling problems covered in our guide on patio drainage problems and fixes.
Once jointing has been washed out, it doesn’t simply refill itself. The gaps remain open, weeds and debris can establish more easily in the exposed joints, and the patio loses some of the stability that properly filled joints were providing.
- Safe approach: A moderate pressure setting, held at a reasonable distance from the surface, angled to clean the slab faces without directing a concentrated jet straight down into the joints.
- Risky approach: High pressure held too close, particularly directed straight down into the joint lines, which strips out jointing material that then needs replacing.
How to Angle Your Pressure Washer Correctly
Beyond pressure and distance, the angle at which you hold the nozzle relative to the patio surface makes a genuine difference to joint safety. Holding the nozzle at a slight angle, rather than pointing it directly straight down, generally directs more of the water’s force across the slab’s face rather than concentrating it into the joint line itself. Working in the direction of the joint lines, rather than crossing directly over them repeatedly, also reduces how much direct, repeated impact any single joint experiences during a full cleaning pass.
This technique takes a small amount of practice to get comfortable with, but it’s a genuinely worthwhile skill to develop if you plan to pressure wash your own patio regularly, since it directly addresses the specific mechanism behind the most common and costly DIY cleaning mistake.
What to Do If Your Jointing Has Already Washed Out
If you’ve noticed empty or significantly reduced jointing after a previous cleaning attempt, it’s worth addressing this reasonably promptly rather than leaving gaps exposed indefinitely. Re-jointing typically involves clearing out any remaining loose debris from the affected joints, then applying a suitable jointing compound or sand, brushed into the gaps and, depending on the product, sometimes activated with water to bond and harden in place. For a small, isolated section, this is a manageable task for a confident DIYer, though for more extensive areas, or where the underlying sub base may have also been affected by prolonged water ingress through the exposed joints, it’s worth having the area properly assessed before simply refilling the visible gaps.
Other Cleaning Mistakes to Avoid
- Using harsh chemical cleaners unnecessarily. These can damage sealants on natural stone or affect certain finishes, and they’re rarely needed for a routine seasonal clean when warm water and mild detergent do the job perfectly well.
- Not clearing debris before washing. Skipping this step means you’re often just pushing dirt around rather than actually removing it, reducing how effective the rest of your cleaning effort actually is.
- Cleaning immediately before or during rain. Washing a patio right before rain is expected can undo some of your effort as fresh dirt and runoff from surrounding areas gets carried back onto the freshly cleaned surface.
- Ignoring furniture and planters during cleaning. Cleaning around fixed furniture or planters without moving them, even temporarily, can leave patches of dirt and algae that continue to spread from those sheltered spots afterward.
Case Study: Re-Jointing a Patio After Pressure Washing Damage
We were called out to a garden in South East London where a customer’s patio, cleaned themselves using a pressure washer, had developed noticeably empty, gappy joints across a large section of the paved area.
What we found:
| Issue | Detail |
| Cleaning method | Pressure washer used at too high a setting |
| Nozzle position | Held too close, directed into the joint lines |
| Result | Jointing sand washed out across a large section |
The customer had used a pressure washer to clean their patio, but had held the nozzle too close and at too high a setting, directing water straight down into the joints between slabs rather than angling it across the slab surfaces. This had washed out a significant amount of the original jointing sand.
What we did: We re jointed the affected section using a suitable jointing compound, restoring the stability and finished appearance the patio had before the cleaning attempt, and advised the customer on the correct pressure and technique for future cleaning to avoid a repeat of the same issue.
Result: The patio’s joints are now properly filled and stable again, and the customer has since successfully cleaned the patio themselves using a more appropriate pressure setting and angle, without any further jointing damage. This case is a clear reminder of why pressure washing technique matters just as much as whether pressure washing itself is appropriate for your patio.
Frequently Asked Questions
How often should I clean my patio?
We recommend cleaning your patio twice a year, in spring and autumn, to stay ahead of dirt, algae, and organic buildup before it becomes more difficult to remove.
Is it safe to pressure wash patio slabs?
Yes, pressure washing is generally safe on most patio slabs, provided you use the correct pressure setting and keep a reasonable distance from the surface, particularly avoiding directing water straight down into the joints.
Why did my patio joints wash away after pressure washing?
This is usually caused by using too high a pressure setting, or holding the nozzle too close to the surface, which strips out the jointing sand or compound between slabs.
What’s the best cleaning solution for patio slabs?
For routine cleaning, warm water mixed with a mild detergent is sufficient for most slab types. Harsher chemical cleaners are typically only needed for stubborn algae or specific staining issues.
Can I use a stiff brush on my patio?
Yes, a stiff outdoor brush is fine for scrubbing stubborn dirt or algae patches, and is generally safer than aggressive pressure washing for spot cleaning specific areas.
What nozzle should I use when pressure washing a patio?
A wider fan tip nozzle spreads the water’s force across a broader area, reducing the risk of concentrated damage compared with a narrow, focused jet nozzle.
How do I fix patio joints that have already washed out?
Clear any remaining loose debris from the affected joints, then apply a suitable jointing compound or sand, brushing it in and activating it with water if required by the specific product used.
Get a Free Quote for Patio Cleaning or Repair
If your patio needs cleaning, re-jointing, or any other maintenance, JPD Landscaping & Building Services offers free quotes across South East London.Call now to book your free quote and consultation.